Diffuse and Specular Shading with Point Lights
April 2020 (2391 Words, 14 Minutes)
Code points of Interest
These are the code sections the assignment specifically asked to be highlighted. Line numbers are accurate as of this articles posting.
Normal calculations
Normal calculations are split between two functions in the Mesh class. In the constructor we do a loop over all faces of the mesh, calculate the normal for that face, normalize it, and then add it to the normal for the verts of that face. Once all faces have been calculated, we do a loop over all verts and normalize the summation of normals from their faces. (see mesh.cpp line 114 - 130)
for(Face const f : faces) {
    glm::vec3 p0 = glm::vec3(vertices[f.vert[0]].coord);
    glm::vec3 p1 = glm::vec3(vertices[f.vert[1]].coord);
    glm::vec3 p2 = glm::vec3(vertices[f.vert[2]].coord);


    glm::vec3 norm = glm::normalize(glm::cross((p1 - p0), (p2 - p0)));

    vertices[f.vert[0]].normal += norm;
    vertices[f.vert[1]].normal += norm;
    vertices[f.vert[2]].normal += norm;

}


for (Vertex& v : vertices) {
    v.normal = glm::normalize(v.normal);
}
The second part of the normal calcuation - interpolating the normals using barycentric coordinates to find a normal at the point of ray/triangle intersection - happens in the same file, mesh.cpp on line 182
normAtIntersection = (norm0 * alpha ) + ( norm1 * beta ) + (norm2 * gamma);Phong Shading
Shading logic begins in raytracer.cpp on line 127
//phong shade diffuse and specular per each light
for (auto light : settings.lights) {

    glm::vec3 lightColor = { light.color.red / 255.0, light.color.green / 255.0, light.color.blue / 255.0 };


    glm::vec3 toLight = glm::normalize(light.position - intersectionPoint);
    glm::vec3 toEye = glm::normalize( glm::vec3(settings.camera.mPosition)- intersectionPoint);
    glm::vec3 r = ((2 * glm::dot(toLight, intersectNorm)) * intersectNorm) - toLight;

    float diffuseTheta = std::max(glm::dot(toLight, intersectNorm), 0.0f);
    float specularTheta = std::max(glm::dot(r, toEye), 0.0f);

    float shinyness = object->getShinyness();

    float specularThetaToTheN = std::pow(specularTheta, shinyness);

    float diffuseTermR = std::min(lightColor.r * object->getDiffuse() * matColor.r * diffuseTheta, 1.0f) ;
    float diffuseTermG = std::min(lightColor.g * object->getDiffuse() * matColor.g * diffuseTheta, 1.0f);
    float diffuseTermB = std::min(lightColor.b * object->getDiffuse() * matColor.b * diffuseTheta, 1.0f);

    float specularTermR = std::min(lightColor.r * object->getSpecular() * matColor.r * specularThetaToTheN, 1.0f);
    float specularTermG = std::min(lightColor.g * object->getSpecular() * matColor.g * specularThetaToTheN, 1.0f);
    float specularTermB = std::min(lightColor.b * object->getSpecular() * matColor.b * specularThetaToTheN, 1.0f);


    image[index].r = image[index].r + diffuseTermR + specularTermR;
    image[index].g = image[index].g + diffuseTermG + specularTermG;
    image[index].b = image[index].b + diffuseTermB + specularTermB;
}

float sceneAmbient = settings.mSceneAmbient * object->getAmbient();

image[index].r += matColor.r * sceneAmbient;
image[index].g += matColor.g * sceneAmbient;
image[index].b += matColor.b * sceneAmbient;
Supersampling
The logic for supersampling has two distinct sections. The first is on line 83 of raytracer.cpp. This code block checks our settings to determine if we should supersample and if yes, we double the resolution of the image plane and print a logging statement
if(settings.mSupersample){
    height = height * 2;
    width = width * 2;
    std::cout << "Raytracer - Supersampling enabled, computations will be done on an " << height << " x " << width << "image" << std::endl;
}
The second block is a iteration over a vector of pixels the same size as our output image. We calculate offsets for both the smaller output image and the larger image, and use these to take 4 pixel averages, supersamples which will eventually get written out. (raytracer.cpp line 220)
for (int vv = 0; vv < ssHeight; ++vv) {
    for (int hh = 0; hh < ssWidth; ++hh) {
        size_t dsIndex = (vv * ssHeight) + hh;
        size_t usIndex = ((vv * 2.0) * height) + (hh * 2.0);

        glm::vec3 aggregate = image[usIndex] + image[usIndex + 1] + image[usIndex + width] + image[usIndex + width + 1];
        finalImage[dsIndex] = aggregate * 0.25;

    }
}
Should you like to look at the code in more depth, it is available here in my gitlab. The raytracer C++ is in the src/ directory.
Required Images
Supertoroid and Spheres
This supersampled 512x512 image contains 2 white lights, 3 supertoroids and 4 spheres (3 in the foreground and one big one in the back) The full scene description with positions, shading parameters, and others settings can be viewed here. More on this file and its role can be found below in a later section.
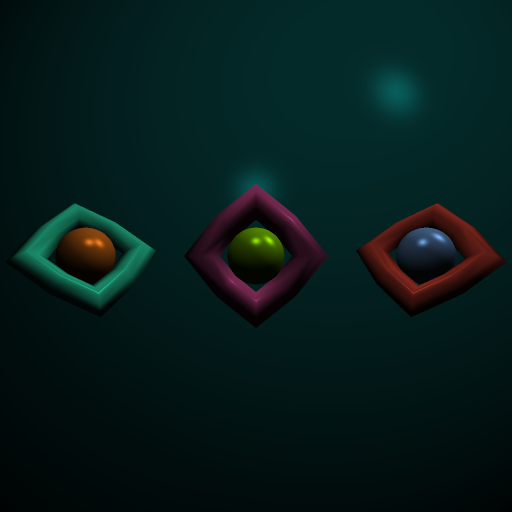
The image took 13240ms total, the log below shows how much of that was spent in raytracing (including shading) and how much was spent in full screen passes to normalize colors and sample the image down from the super-sized 1024x1024.
Mesh - Loaded mesh: assets/supertoroid.smf with 64 verts and 129 faces
Mesh - Loaded mesh: assets/supertoroid.smf with 64 verts and 129 faces
Raytracer - Performing inital setup with:
        Camera at vec4(0.000000, 0.000000, 4.250000, 1.000000)
        Camera Space - X: vec3(1.000000, -0.000000, 0.000000)
        Camera Space - Y: vec3(0.000000, 1.000000, 0.000000)
        Camera Space - Z: vec3(0.000000, 0.000000, -1.000000)

        Dist to view plane 1

        View angle (DEG) 56

        View Plane center at: vec3(0.000000, 0.000000, 3.250000)
        View Plane upper left at: vec3(-0.531709, 0.531709, 3.250000)

Raytracer - Supersampling enabled, computations will be done on an 1024 x 1024image
Raytracer - Starting raytrace of scene..........DONE
Raytracer - full screen color norm pass
Raytracer - Supersampling image down to 512 x 512
Raytracer - Tracing took           13223ms
Raytracer - image proccessing took 17ms
Raytracer - Total time: 13240ms
Screen - Writing 262144 pixels to 512 by 512 file: ss-solar-spheres-and-supertoroid.png
Another one
This is more of a “everything-and-the-kitchen-sink” scene with higher face counts to really emphasize how expensive ray tracing is, The scene description is here.
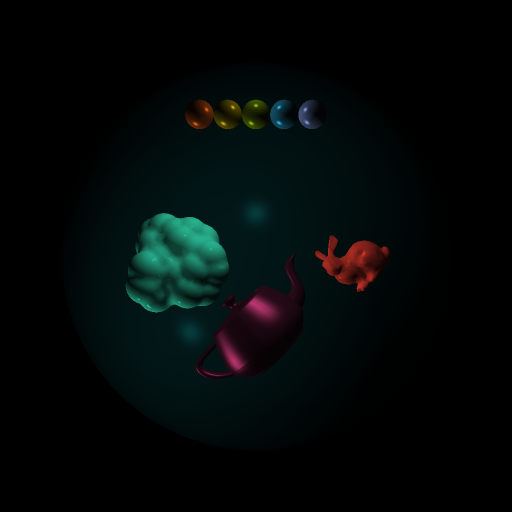
lets contrast this version, with a version where all objects have the same phong shading settings.
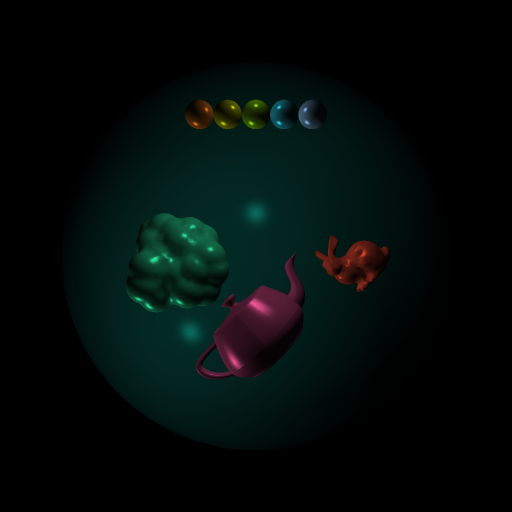
The settings do make a big difference!
This image, with its nearly 15,000 faces took 513732ms(over 8 minutes) to fully render.
Screen - Setting up image as 512 by 512
Sphere - Set up sphere at: [0, 0, -20] with radius: 15
Mesh - Loaded mesh: assets/penny3.smf with 3675 verts and 7344 faces
Mesh - Loaded mesh: assets/teapot.smf with 3644 verts and 6320 faces
Mesh - Loaded mesh: assets/bunny-1000.smf with 502 verts and 1000 faces
Sphere - Set up sphere at: [-2, 5, 3] with radius: 0.5
Sphere - Set up sphere at: [-1, 5, 3] with radius: 0.5
Sphere - Set up sphere at: [0, 5, 3] with radius: 0.5
Sphere - Set up sphere at: [1, 5, 3] with radius: 0.5
Sphere - Set up sphere at: [2, 5, 3] with radius: 0.5
Raytracer - Performing inital setup with:
        Camera at vec4(0.000000, 0.000000, 20.000000, 1.000000)
        Camera Space - X: vec3(1.000000, -0.000000, 0.000000)
        Camera Space - Y: vec3(0.000000, 1.000000, 0.000000)
        Camera Space - Z: vec3(0.000000, 0.000000, -1.000000)

        Dist to view plane 1

        View angle (DEG) 56

        View Plane center at: vec3(0.000000, 0.000000, 19.000000)
        View Plane upper left at: vec3(-0.531709, 0.531709, 19.000000)

Raytracer - Supersampling enabled, computations will be done on an 1024 x 1024image
Raytracer - Starting raytrace of scene..........DONE
Raytracer - Full Screen color norm pass
Raytracer - Supersampling image down to 512 x 512
Raytracer - Tracing took           513715ms
Raytracer - image proccessing took 17ms
Raytracer - Total time: 513732ms
Screen - Writing 262144 pixels to 512 by 512 file: ss-misc-models-and-spheres.png
Work in progress images
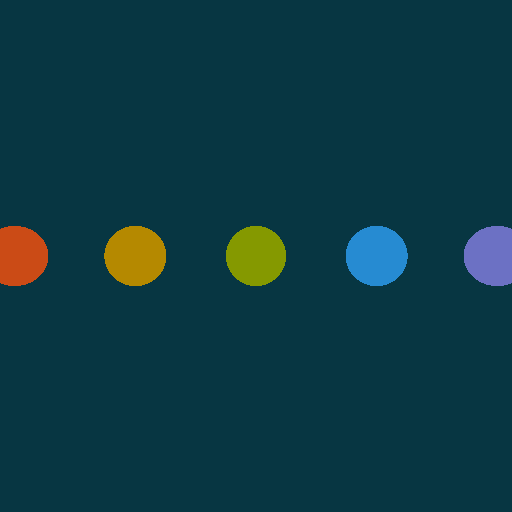
These images were created as I was bringing Phong shading online during development and as a result they don’t really meet the criteria for the end result of the assignment, however I liked the way they looked and thought they were worth sharing.
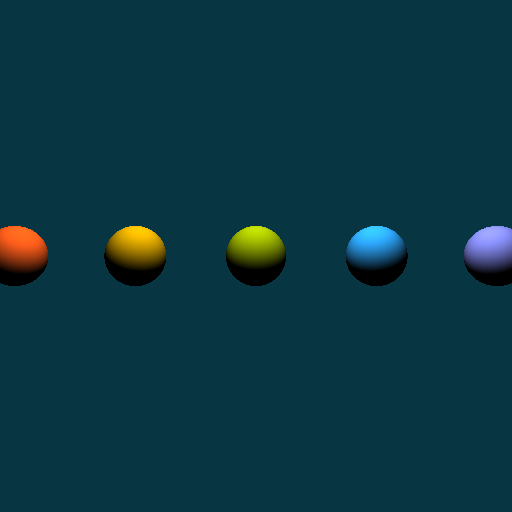
The first thing I did was add color to the homework 1 code, giving each scene object its own RGB value that the ray trace intersection method would return, this meant the raytracing loop could start do add color to the scene. At this point I was still setting the nxm grid of pixels to a flat background color.
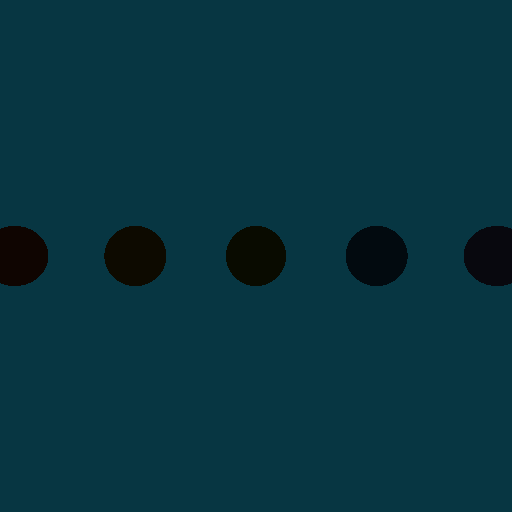
The next step was to implement lights, and start to turn on the various components of phong shading. I did individual passes for the diffuse and ambient steps, however in all cases adding the specular component caused my lighting values to exceed acceptable thresholds and my images have bizarre unsightly color aberrations that aren’t worth showing.
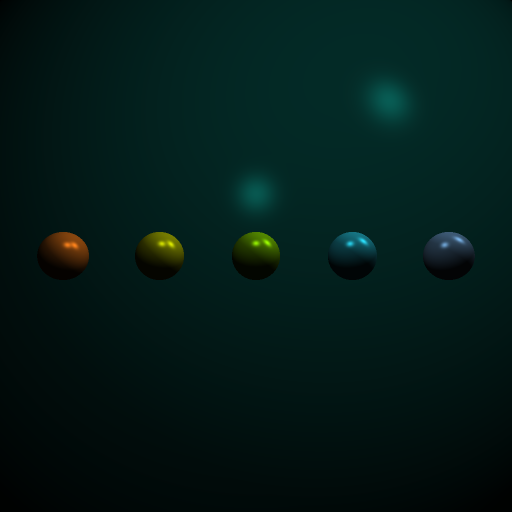
At this point I took a break to do some non-visible improvements such as a full image pass to normalize color intensities, add all the Phong shading values to the JSON file format so I could specify per object characteristics, enable supersampiling, and some other minor refactoring to get certain code paths more readable. At the end of which I managed to get what I think is the coolest looking image of the set.
Whats with this Json file?
Something I identified very early on as a pain point (back in HW1) was the need to write repetitive code to position objects in a scene. Issues included losing good known scenes if you had to write a new one, tons of commented out lines, and other small issues that stacked up. To fix this I took an evening and pulled in a single header JSON reader library and spun all of my scene description information out into stand alone files. This means I can easily generate a library of scenes and keep them around to test future changes to the RayTracer against. An additional perk is that I can change details of a scene with out trigging a recompilation. I store these scenes in the top level assets/ directory along with the -.smf files, in case you want to look. Json is fairly easy to read however the parsing is fairly error intolerant at the moment, so if you are at all interested in modifying them, note that the attributes of most structures are required, and the layout is not very flexible.
Known Current Limitations of the Tool
While I completed everything necessary for HW 2, there are certain things I noticed that could be improved, some of which I know are part of incoming homeworks:
- Slow - even with small models, checking every object against the ray is expensive, HW3 brings acceleration
- No Light Occlusion - Right now, shading calculations do not check if the light source is occluded by other scene objects, so shading is slightly inaccurate.
- Messy - the
RayTracer::Run()method has grown in to an ugly behemoth, it needs some function extraction simply for readability’s sake. I would also like to break Phong shading into its own series of functions. - Color norming - Can misbehave on images with very low color channel values. Right now the norming function is focused on bringing intensity values >1 back into the [0…1] range, this part works well, however if a particular channel’s max value is small, that can cause issues when that channel is renormalized, the current work around is to just ensure any scenes have “safe” colors with high enough values in all 3 channels. The Solarized color pallet has worked well for this.